


What Are the Best Digital Products Available Today?

You’re constantly looking for ways to boost your productivity, stay up-to-date with the latest skills, and indulge in creative pursuits. Fortunately, the digital landscape is flooded with products that cater to these needs. From task management tools and e-learning platforms to digital art software and gaming services, the options are endless. But what sets the best digital products apart from the rest? It all comes down to their ability to seamlessly integrate into your daily life and offer tangible benefits. So, what are the top digital products that deserve your attention, and how can they transform your digital experience?
Top Digital Productivity Tools
Your digital toolbox is about to get a serious upgrade. Top digital productivity tools are essential for anyone looking to streamline their workflow, manage tasks efficiently, and stay organized.
You’ll find a wide range of tools that cater to different needs, from project management to time tracking.
You can start by exploring task management tools like Trello or Asana, which allow you to create boards, lists, and cards to visualize your projects.
These tools also enable collaboration, making it easy to assign tasks to team members and track progress.
Time tracking tools like RescueTime or Harvest help you monitor how much time you spend on specific tasks, giving you valuable insights into your productivity.
Other essential tools include note-taking apps like Evernote or OneNote, which allow you to jot down ideas and organize your thoughts.
You can also use browser extensions like Grammarly or LastPass to improve your writing and password management.
By incorporating these tools into your daily routine, you’ll be able to work more efficiently and achieve your goals.
With the right digital productivity tools, you’ll be unstoppable.
Best E-Learning Platforms Available
With your digital toolbox upgraded and workflow streamlined, it’s time to focus on personal growth and skill development. This is where e-learning platforms come in, offering a wide range of courses and tutorials to help you upgrade your skills.
You can choose from various platforms that cater to different learning styles and interests.
Here are three of the best e-learning platforms available today:
- Udemy: With over 183,000 courses, Udemy offers a vast array of topics, from business and technology to creative skills and personal development.
- Coursera: Partnering with top universities, Coursera provides access to high-quality courses and degree programs, allowing you to earn certificates and credentials.
- Skillshare: Focusing on creative skills, Skillshare offers a unique learning experience with access to workshops, classes, and projects in areas like graphic design, writing, and photography.
These platforms allow you to learn at your own pace, anytime and anywhere.
You can choose courses that fit your schedule and interests, and interact with instructors and fellow learners through online communities.
Popular Digital Art and Designs
Embracing digital art and design can be a fantastic way to express yourself creatively. You can create stunning visuals using digital painting software, 3D modeling tools, or even graphic design apps.
If you’re looking for inspiration, you can browse online marketplaces like Society6 or Redbubble, which feature a wide range of digital art and designs.
You can also explore popular digital art styles, such as minimalist illustrations, abstract art, or futuristic landscapes.
If you’re interested in creating your own digital art, you can use online tutorials or YouTube videos to learn new skills. Many digital artists also sell their designs as print-on-demand products, such as posters, stickers, or phone cases.
Additionally, you can find unique digital art and designs on platforms like Etsy or DeviantArt. These websites showcase a diverse range of artistic styles and offer a great way to discover new talent.
Whether you’re an artist or just a fan of digital art, there’s no shortage of amazing designs to explore and enjoy. By embracing digital art and design, you can unleash your creativity and discover new ways to express yourself.
Essential Software and Programs
When it comes to creating digital art and designs, having the right software and programs at your fingertips can make all the difference.
You’ll be able to express your creativity, work efficiently, and produce high-quality results. With the numerous options available, choosing the right tools can be overwhelming.
Here are three essential software and programs you should consider:
- Adobe Creative Cloud: A suite of applications that includes popular programs like Photoshop, Illustrator, and InDesign. It’s ideal for graphic designers, photographers, and artists.
- Sketch: A digital design tool that’s perfect for user interface (UI) and user experience (UX) designers. It’s known for its intuitive interface and powerful features.
- Blender: A free, open-source 3D creation software that’s great for modeling, rigging, and animating. It’s a popular choice among 3D artists and designers.
These software and programs can help you streamline your workflow, improve your skills, and take your digital art and designs to the next level.
Emerging Digital Subscription Services
New digital subscription services are changing the way you access and use https://digiepack.store/ . These innovative services offer you a wide range of benefits, including cost savings, increased flexibility, and unparalleled convenience. By providing access to a vast library of digital products, these services enable you to try out new tools, software, and content without breaking the bank.
Some of the most popular emerging digital subscription services include:
| Service | Description |
|---|---|
| Apple Arcade | A gaming subscription service that offers exclusive games for iOS, iPadOS, macOS, and tvOS devices. |
| Adobe Creative Cloud | A suite of creative apps, including Photoshop and Illustrator, that provide access to the latest design and editing tools. |
| LinkedIn Learning | An online learning platform that offers courses and tutorials on business, technology, and creative skills. |
| Google Play Pass | A subscription service that provides access to premium apps and games on Android devices. |
| Xbox Game Pass | A gaming subscription service that offers access to a vast library of games for Xbox and Windows devices.
Conclusion
You now have a wealth of digital products at your fingertips, catering to your diverse needs. From boosting productivity with Trello and RescueTime to expanding your knowledge with Udemy and Coursera, the options are endless. Unleash your creativity with Adobe Creative Cloud and Sketch, and enjoy exclusive gaming experiences with Apple Arcade and Xbox Game Pass. With so many great tools available, you can discover, learn, and have fun in a digital world of possibilities.
The Ultimate Deck Experience for Olympic Enthusiasts
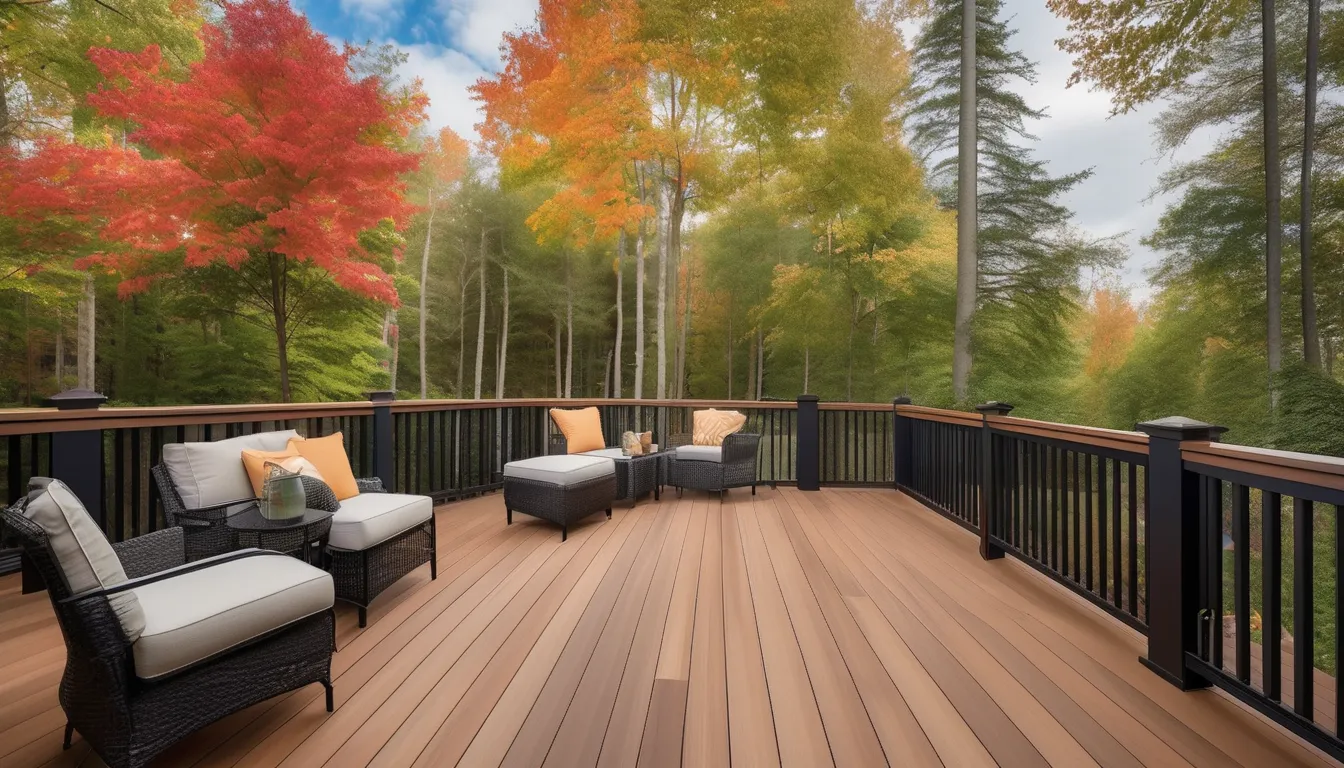
As you envision hosting the ultimate Olympic viewing party, you’re likely wondering how to transform your deck into a lively space that captures the spirit of the Games. You’ve probably considered the essentials – a large outdoor screen or projector, comfortable seating, and festive decorations – but what sets the ultimate Olympic deck experience apart? It’s a thoughtful blend of functional design, sustainable materials, and clever details that evoke the excitement of the Olympics. Can you imagine your deck becoming the go-to spot for friends and family to cheer on their favorite athletes – but how do you make that vision a reality?
Designing the Perfect Olympic Deck
When designing the perfect Olympic deck, you’re not just building a structure – you’re creating an extension of your home that’ll be the hub of entertainment and relaxation for years to come.
You’ll want to consider the layout and flow of your deck to ensure it accommodates your needs. Think about the activities you’ll be using your deck for, such as dining, lounging, or entertaining guests.
A well-designed Olympic deck should have different zones or areas for various activities. You might want a dedicated space for a grill or outdoor kitchen, a seating area for lounging, and a separate space for dining.
Consider the size and shape of your deck, as well as the location of doors, windows, and stairways. You’ll also want to think about the placement of railings, stairs, and other safety features.
Olympic-Inspired Materials and Colors
With your Olympic deck design in place, it’s time to think about the materials and colors that’ll bring it to life.
Choose materials that evoke the spirit of the Olympics, such as sustainable hardwoods or reclaimed wood, reminiscent of the Olympic rings.
Consider using durable, low-maintenance materials like composite decking or PVC, which can withstand the elements and heavy foot traffic.
For a bold, Olympic-inspired look, incorporate the iconic colors of the Olympic rings: blue, yellow, black, green, and red.
You can use these colors for the deck’s railing, furniture, or accents.
Alternatively, opt for a more subtle approach by using neutral tones like gray, beige, or white, which can provide a clean backdrop for Olympic-themed decor.
To add a pop of color, incorporate Olympic-inspired accessories, such as torch-shaped planters or Olympic ring-patterned throw pillows.
Outdoor Entertainment and Seating
As you step into your Olympic-inspired outdoor space, it’s time to think about how you’ll enjoy it. Since you’ve chosen materials and colors that reflect your love for the deck contractors near me s, now it’s time to focus on entertainment and seating.
You’ll want to create spaces for relaxation, socializing, and taking in the excitement of the Games.
Consider installing a large outdoor screen or projector to watch Olympic events with friends and family. This can be paired with comfortable outdoor seating, such as sectionals or zero-gravity chairs.
For socializing, add a fire pit or outdoor heaters to extend the outdoor season. A built-in grill or outdoor kitchen can also be a great addition, allowing you to host Olympic viewing parties and cook for your guests.
Think about adding some fun outdoor games, like cornhole or a giant Jenga set, to keep guests entertained during commercial breaks.
You can also incorporate Olympic-themed elements, such as a torch-inspired fireplace or a medal-count scoreboard. By incorporating these features, you’ll create a unique and engaging outdoor space that’s perfect for Olympic enthusiasts.
Lighting the Olympic Spirit
Your Olympic-inspired outdoor space is taking shape, from the perfect seating arrangement to the ideal setup for entertainment.
To create a captivating ambiance that embodies the Olympic spirit, it’s time to consider lighting. You’ll want to choose lighting options that not only provide sufficient illumination but also evoke the excitement and energy of the Games.
String lights or fairy lights in the colors of the Olympic rings – blue, yellow, black, green, and red – can add a pop of color to your deck.
Alternatively, you can opt for white or warm-toned lights to create a more subtle ambiance.
Consider installing LED lights that can be programmed to change colors or patterns to match the Olympic events you’re watching.
Solar-powered lights are also an eco-friendly option that can be placed around your deck to create a festive atmosphere.
Bringing the Games to Your Backyard
Outdoor games and activities can elevate your Olympic-themed deck into a lively and engaging space.
By incorporating elements inspired by the Olympic Games, you’ll create a fun and competitive atmosphere for family and friends to enjoy. Install a mini basketball hoop or a cornhole toss game to mimic the excitement of Olympic events.
You can also set up a large-screen TV or projector to broadcast live Olympic coverage, re-creating the thrill of the Games in your own backyard.
Add some outdoor seating and tables to create a cozy viewing area, perfect for cheering on your favorite teams and athletes.
To make it even more engaging, organize friendly tournaments and competitions, such as a mini Olympics or a backyard decathlon, where guests can participate and showcase their skills.
Conclusion
You’ve turned your deck into the ultimate Olympic viewing experience, combining functional design, sustainable materials, and festive lighting. With different zones for dining, lounging, and entertainment, you’ve created a lively atmosphere that’s perfect for cheering on your favorite athletes. Now, grab some snacks, gather your friends and family, and get ready to feel the Olympic spirit in your own backyard – it’s time to let the Games begin.
The Best Practices for Installing Royal Deck Guardian

When it’s time to install lawrenceville deck builders , you know you’re investing in a top-notch solution for your deck’s protection. However, to get the most out of this product, you’ll need to follow some essential best practices. You’ll start by preparing your deck surface, but it’s not just a matter of quickly sweeping it off. What specific steps should you take to ensure a smooth installation, and how do you measure and apply the material correctly? Understanding these key details will be crucial in achieving a successful installation, but where do you begin?
Preparing the Deck Surface
Preparing the Deck Surface
To start preparing the deck surface for Royal Deck Guardian installation, you’ll first need to clear the area of any debris, furniture, or obstructions.
Sweep the deck thoroughly, removing dirt, leaves, or twigs that could interfere with the installation. Check the deck for any loose boards or screws and secure them before proceeding.
Next, inspect the deck for any existing sealants, coatings, or waxes that need to be removed.
Use a suitable cleaning solution and a stiff brush to scrub the deck surface, removing any dirt, grime, or old sealants. Rinse the deck thoroughly with clean water to ensure a clean surface.
Allow the deck to dry completely before proceeding with the installation.
Check the deck’s joists and beams for any signs of damage or rot.
Make any necessary repairs before proceeding with the installation. Ensure the deck is structurally sound and secure to support the weight of the Royal Deck Guardian.
Measuring and Cutting Material
With your deck surface now clean and structurally sound, you’re ready to measure and cut the materials for your Royal Deck Guardian installation.
Start by measuring the length and width of your deck to determine the total square footage. This will help you calculate the amount of material needed.
Make sure to measure around any obstructions, such as railings or stairs.
Use a tape measure to record the dimensions of your deck, taking note of any irregular shapes or corners.
Double-check your measurements to ensure accuracy.
Once you have your measurements, use a calculator to calculate the total square footage of your deck. This will help you determine how many gallons of Royal Deck Guardian you’ll need.
Cut your materials, such as deck boards or plywood, according to your measurements.
Use a saw or other cutting tool to make clean cuts.
Cut your materials slightly larger than needed, allowing for overlap and trimming.
Wear protective gear, such as safety glasses and gloves, when cutting materials.
Applying Royal Deck Guardian
Your Royal Deck Guardian installation is now ready for application. Before applying the material, make sure you’ve prepared the deck surface according to the manufacturer’s instructions. Remove any debris, dirt, or old sealants that could interfere with the new application.
Begin applying Royal Deck Guardian by peeling off the backing paper and exposing the adhesive side.
Align the material with the edge of the deck, ensuring it’s straight and even. Use a j-roller or a similar tool to apply pressure and secure the material to the deck surface. Work from the center outwards, applying even pressure to avoid air bubbles.
To prevent wrinkles and air pockets, use a roller or a squeegee to smooth out the material as you apply it.
Make sure to follow the manufacturer’s recommended application pattern to achieve the best results. Apply Royal Deck Guardian in sections, working your way around the deck to ensure a seamless installation.
Ensuring Proper Adhesion
To ensure Royal Deck Guardian adheres properly, you must maintain a clean and dry deck surface throughout the installation process. Any dirt, debris, or moisture can compromise the adhesive properties of the product, leading to poor adhesion or even peeling.
Make sure to thoroughly sweep the deck surface and remove any dirt or debris before applying Royal Deck Guardian.
If you’re applying Royal Deck Guardian in a humid climate or during wet weather, ensure the deck surface is completely dry before application.
Use a clean, lint-free cloth to wipe down the deck surface and remove any excess moisture.
Additionally, ensure that the deck surface is free of any oils, waxes, or sealers, as these can also interfere with the adhesion of Royal Deck Guardian.
Regularly inspect your deck surface during the installation process for any dirt, debris, or moisture accumulation.
Address these issues promptly to ensure proper adhesion of Royal Deck Guardian.
Proper surface preparation is key to ensuring a strong bond and a long-lasting, durable finish.
Final Inspection and Touchups
How does your newly installed Royal Deck Guardian look? After completing the installation, it’s essential to inspect the deck thoroughly to ensure everything is in place and functioning correctly.
Check for any gaps or voids in the seams and joints, and verify that the system is securely fastened to the deck’s surface.
During your inspection, also look for any signs of improper adhesion or areas where the membrane may be compromised. Check for any wrinkles, bubbles, or blisters that could indicate air pockets or uneven surfaces.
Make note of any issues you find and address them promptly to prevent damage or leaks.
If you find any areas that need touchups, use the recommended materials and techniques to make the necessary repairs.
Apply additional adhesive or sealant as needed to ensure a watertight seal. Once you’ve completed the touchups, re-inspect the deck to verify that all issues have been resolved and the Royal Deck Guardian system is functioning as intended.
Conclusion
You’ve completed the installation of Royal Deck Guardian. Now, it’s time to stand back and inspect your work. Ensure all areas are fully coated and there are no gaps or bubbles. Address any issues promptly to prevent damage or leaks. With proper installation, Royal Deck Guardian will provide long-lasting protection for your deck. Double-check your work to confirm a watertight seal, and you’ll be ready to enjoy your deck for years to come.
How to Choose the Right Deck Guardian Installation Method
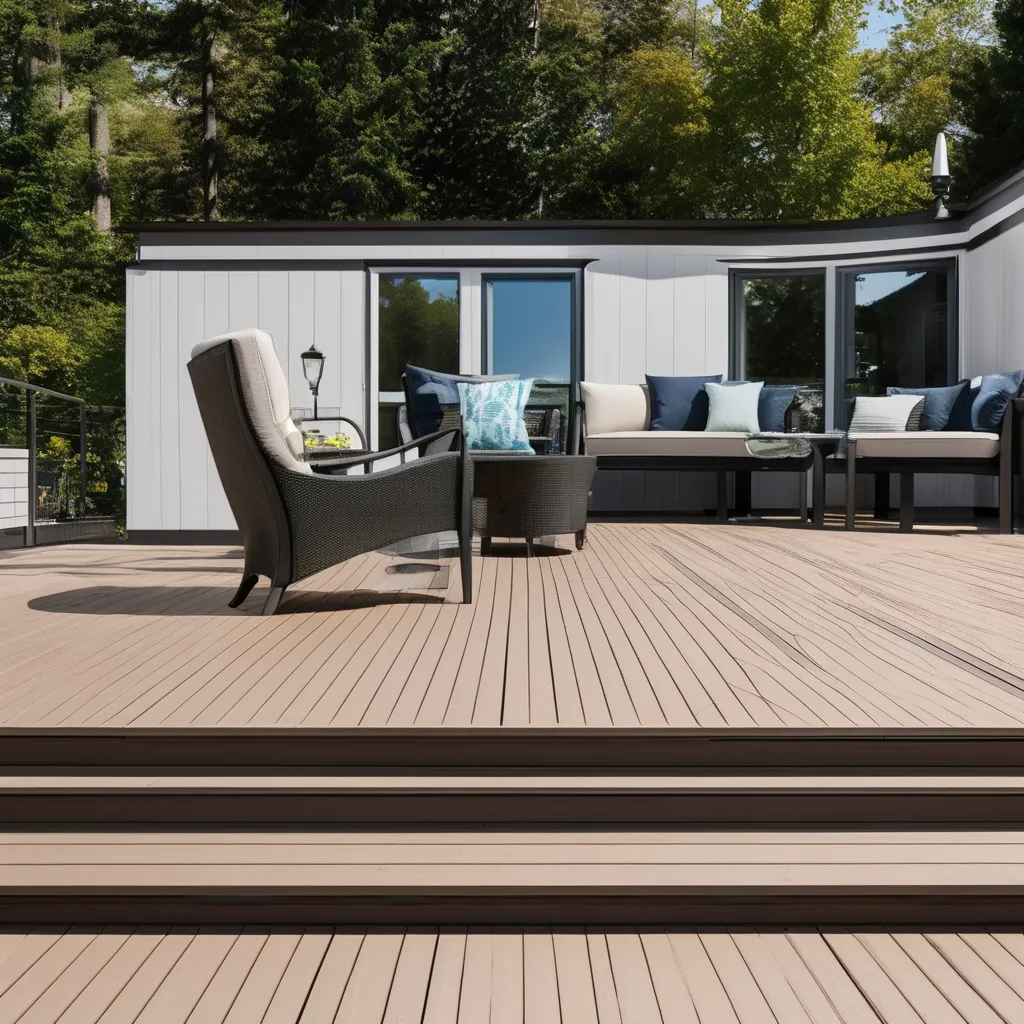
When it’s time to install a deck guardian on your outdoor space, you’re likely considering what method will work best for you. You’ll need to assess your deck’s structure, material, and condition to make an informed decision. Take into account the type of decking material and existing features, such as stairs or a gazebo. But that’s just the beginning – you’ll also need to weigh your style and aesthetic goals against your budget constraints. As you start to explore your options, a crucial question emerges: what installation method will provide the perfect balance of safety, durability, and visual appeal for your deck? langhorne deck builder.
Assessing Your Deck Type
When deciding on a deck guardian installation method, assessing your deck type is crucial to ensure a seamless integration. You’ll need to consider the type of deck you have, its size, and its current condition.
Start by checking the deck’s structure, including the type of decking boards, railings, and posts. Is it a pressure-treated wood deck, or is it made of composite materials? Are there any existing features, such as stairs or a gazebo, that could impact the installation?
Your deck’s size and layout will also play a crucial role in determining the best installation method. For example, a large deck with multiple levels may require a different installation approach than a small, single-level deck.
Additionally, consider the deck’s condition, including any damage or wear. Are there any rotten boards or broken railings that need to be replaced before installation?
Take note of these details and consider how they may impact the installation process. This will help you choose an installation method that’s tailored to your deck’s unique needs.
Choosing the Right Materials
To ensure a seamless integration of your deck guardian, you’ll need to choose the right materials for the installation. This decision largely depends on your deck type, which you’ve already assessed.
For wooden decks, consider choosing materials that match or complement the existing wood tone. This could be wood or metal guardrails, balusters, and posts.
In contrast, if you have a metal or PVC deck, you may want to choose materials that provide a contrasting look or a matching one to maintain a uniform theme.
When it comes to balusters, you can choose from glass, metal, or wood. Each material offers its own set of benefits, such as durability, low maintenance, or style.
For deck railings, you can opt for cable, glass, or metal. Consider factors like safety, style, and local building codes when making your decision.
Additionally, think about the amount of sunlight your deck receives and how it may affect the materials you choose.
Measuring and Planning
Measuring your deck space meticulously is crucial for a successful deck guardian installation. You’ll want to take precise measurements of your deck’s length, width, and any obstacles that could interfere with the installation, such as stairs or railings.
Use a tape measure to record these measurements and note any irregularities, like uneven surfaces or gaps between boards.
Next, use your measurements to create a detailed plan for your deck guardian installation. Consider the type of deck guardian you’re using and how it will be attached to your deck.
Think about the spacing and layout of the deck guardian, taking into account any obstacles or irregularities you noted during your measurement phase. You should also consider factors like drainage and how water will flow off your deck once the deck guardian is installed.
With your plan in place, you can move forward with confidence, knowing that your deck guardian installation will be a success. Take your time and double-check your measurements to ensure accuracy, and don’t hesitate to seek help if you’re unsure about any aspect of the planning process.
Installation Techniques to Consider
You’ve planned your deck guardian installation, and now it’s time to decide on the best installation technique for your specific needs.
There are several installation techniques to consider, each with its own set of benefits and drawbacks. The first method is attaching the deck guardian to your deck’s railing. This method is easy to install and doesn’t require any additional hardware. However, it may not provide the best protection for your deck, especially if the railing is weak or damaged.
Another method is installing the deck guardian directly to the deck’s ledger. This method provides more stability and better protection for your deck. However, it requires more work and may require additional hardware.
You can also consider installing the deck guardian to the deck’s joices or the deck’s deck itself. When choosing an installation technique, consider the type of deck you have, the condition of your deck, and the type of deck guardian you’re using.
Consult the manufacturer’s instructions for specific installation requirements and recommendations. You can also consult with a professional if you’re unsure about the best installation technique for your deck.
Budget and Style Considerations
When budgeting for your deck guardian installation, consider the overall style and aesthetic you want to achieve. The style of your deck guardian installation can greatly impact your overall budget, so it’s essential to have a clear idea of what you want to achieve.
For example, if you’re looking for a modern and sleek look, you may need to invest in a more expensive installation method.
Your budget will also play a significant role in determining the type of deck guardian installation method you choose. The cost of materials, labor, and any additional features you want will all add up, so it’s essential to have a realistic budget in mind.
Consider the long-term costs of your deck guardian installation as well, including maintenance and repair costs.
To stay within your budget, consider a mix of style and functionality.
For example, you can choose a deck guardian installation method that provides adequate protection for your deck while also complementing your home’s exterior.
Conclusion
You’ve assessed your deck type, chosen the right materials, and measured and planned your installation. You’ve considered various installation techniques and factored in budget and style. By following these steps, you’ll find the right deck guardian installation method for your unique deck. Remember to consult manufacturer’s instructions and recommendations to ensure a successful installation. Now, you’re ready to start installing your deck guardian, protecting your deck and enhancing its beauty.
The Best Garage Door Repair Techniques for Phoenixs Climate

As a Phoenix homeowner, you’re likely no stranger to the intense heat and sandstorms that can wreak havoc on your garage door. You might’ve already noticed signs of wear and tear, from creaky hinges to warped panels. But what you don’t see can be just as damaging – hidden gaps and cracks that let in sand and heat, causing your door’s motor to overheat and its springs to fail. What can you do to protect your garage door from Phoenix’s harsh climate, and what are the most effective techniques to repair the damage that’s already been done? garage door installation in Phoenix.
Inspecting for Hidden Damages
Most garage door repairs start with identifying the problem, and it often begins with a thorough inspection for hidden damages.
You’ll want to start by checking the garage door’s exterior for dents, scratches, and other noticeable damage. Next, inspect the door’s panels, hinges, and rollers for signs of wear, rust, or corrosion.
Don’t forget to check the door’s springs, cables, and tracks for any signs of damage or misalignment.
It’s also essential to inspect the garage door’s interior for potential issues.
Check the door’s insulation and seals for any gaps or damage that could be causing energy loss or water intrusion.
Look for signs of pest infestation, such as rodent droppings or insect damage.
Additionally, inspect the door’s electrical components, including the opener and sensors, to ensure they’re functioning correctly.
Repairing Warped Panels Effectively
A warped garage door panel can compromise the entire door’s functionality and energy efficiency. When you notice a warped panel, it’s crucial to address the issue promptly to prevent further damage.
Start by inspecting the panel to determine the cause of the warp. Excessive heat, water damage, or physical impact are common culprits.
If the warp is minor, you can try to straighten the panel using a heat gun or a hair dryer. Apply heat to the warped area, then use a clamp or a weight to hold the panel in place until it cools and sets.
However, if the warp is severe or the panel is damaged beyond repair, it’s best to replace it. When replacing a warped panel, ensure you purchase a new one that matches the original’s material and design. Follow the manufacturer’s instructions for installation, and consider consulting a professional if you’re unsure about any aspect of the process.
Maintaining Overheated Garage Motors
After addressing issues with warped panels, your focus shifts to the mechanical aspects of your garage door, particularly the motor. In Phoenix’s scorching climate, overheated garage motors can lead to premature wear and tear, resulting in costly repairs or even motor replacements.
To prevent this, ensure your garage door motor is well-ventilated by keeping the surrounding area clear of debris and dust. You can also install a ventilation system or upgrade to a motor with a built-in cooling system.
Regularly inspect your garage door motor for signs of overheating, such as excessive noise, burning smells, or visible smoke.
If you notice any of these symptoms, turn off your garage door immediately and let the motor cool down before troubleshooting the issue. Additionally, make sure to lubricate your garage door’s moving parts regularly to reduce friction, which can contribute to overheating.
Replacing Damaged Spring Systems
When your garage door’s spring system becomes damaged, it can be a significant safety hazard and lead to costly repairs if left unaddressed. In Phoenix’s climate, the constant heat can expedite the wear and tear on your garage door’s springs, making it essential to replace them promptly.
You’ll know it’s time to replace the spring system if you notice your garage door is uneven, making loud noises, or not opening or closing properly.
Before starting the replacement process, make sure you’ve purchased the correct replacement springs for your garage door model.
You’ll need to disconnect the garage door from the opener and remove any cables or pulleys attached to the springs.
Next, carefully remove the old springs and discard them.
Install the new springs, ensuring they’re securely attached to the garage door frame and the center bracket.
Tighten the springs according to the manufacturer’s instructions, and reattach the cables and pulleys.
Sealing Gaps and Cracks Properly
[TEXT]:
Your garage door’s springs are now functioning properly, but gaps and cracks in the door or its frame can still cause issues. One of the most common problems with gaps and cracks is air leakage. This can increase your energy bills and also let in dust and debris from the outside.
To seal these gaps and cracks, you’ll need some basic materials like weatherstripping, caulk, and spray foam.
Start by inspecting your garage door and frame for any gaps or cracks. Check the bottom and top seals, as well as the sides and corners. Once you’ve identified the gaps, you can start sealing them.
Use weatherstripping for larger gaps, and caulk or spray foam for smaller ones. Make sure to clean the area thoroughly before applying any sealant to ensure a proper bond. Also, consider replacing old or damaged seals to prevent future gaps and cracks.
Conclusion
By following these techniques, you’ll be able to identify and fix hidden damages, repair warped panels, and prevent overheated garage motors. Replacing damaged spring systems and sealing gaps and cracks will also help maintain your garage door’s functionality. Regular maintenance and repairs will ensure your garage door operates smoothly, even in Phoenix’s intense heat and sandstorms. This will save you time and money, while also increasing your garage door’s lifespan.